Expression Blend 4 : Data Binding, Element Data Binding, Data Source Data Binding
Working with Data in Expression Blend 4
Element to Element Data Binding
In this section we are going to see how we can use data binding in Expression Blend. We will see how we can create sample data sources and how to use them in data binding.
Data binding is a functionality that both Silverlight and WPF have that helps us set the property of an element to an external data source. That data source can be xml if we are using WPF and can be any CLR object if we are using Silverlight or WPF. It could also be a sample data source. When we apply data binding to an element then that element does not get its value directly but it has to go to some other location for getting its value. This other location can be another element or a database or an xml.
- Let’s have a look at the element to element data binding. Open Expression blend 4 and create a new Silverlight Project.
- Now go to the tools pallet and select rectangle.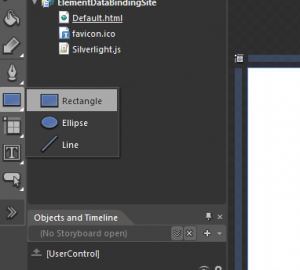 Expression Blend 4 : Rectangle
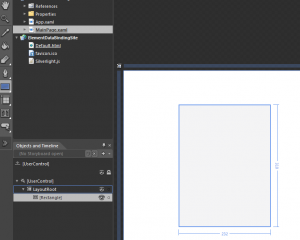
- Now create a rectangle by pressing the left button of the mouse and dragging it on the artboard.
 Expression Blend 4 : Rectangle
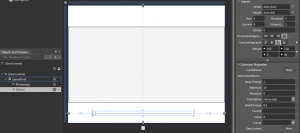
- Now go to the properties of the rectangle and set the horizontal alignment to stretch and left and right margins to 0.
 Expression Blend 4 : Rectangle Properties
- Let’s go back to the tools pane and grab a slider and drop it on the artboard.
 Expression Blend 4 : Slider
- If you have a look at the properties of the slider you would see values like Maximum (The maximum value of the slider), Minimum (the minimum value of a slider), SmallChange (the value that will change when user has focused the slider and uses the up and down arrow key to change the value of the slider), LargeChange (the value that will change when do a mouse click at any location on the slider track). Let’s set these properties as shown below.
 Expression Blend 4 : Slider Properties
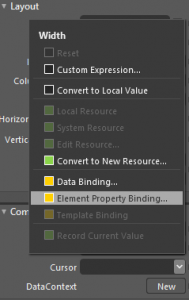
- Now let’s setup the data binding. There are two ways to set the data binding: one way or two way. In one way data binding only one property can change the other but not vice versa. In two way data binding both the properties can change each other. In this case we want only one way binding so that the width of the rectangle can change on the change in the slider. So let’s select the rectangle and go to the width property and click on the property marker next to it. Expression Blend 4 : Rectangle Property Marker
- And select element property binding.
 Expression Blend 4 : Element Property Binding
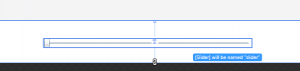
- Now our cursor has been moved to the object picker mode so we need to point to the element with which we want to do the property binding. In this case we will move our cursor to the slider and click on the slider.
 Expression Blend 4 : Element Property Binding
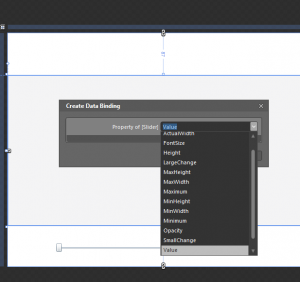
- Once we will click on the slider we will get an option select which property of the slider we want to bind to and we will select value.
 Expression Blend 4 : Element Property Binding
- The moment we do this we see that the width of the rectangle is changed and the Width property has a yellow rectangle around it showing that this property is getting its value from some other location.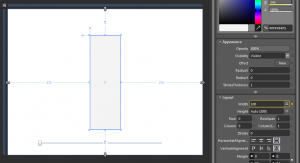 Expression Blend 4 : Element Property Binding
- Now we can run the application and see that the width of the rectangle will change as we change the slider value.
 Expression Blend 4 : Element Property Binding
Two Way Data Binding
In this section we will see how we can create two way data binding. Along with the Slider we will provide a textbox to modify the width of the rectangle.
- Let’s drag out a textbox on to the artboard.
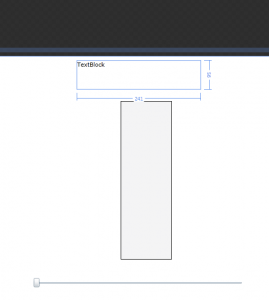 Expression Blend 4 : Element Property Binding Two Way
- Now go to the text property of the textbox and click on the property marker and select Element Property Binding.
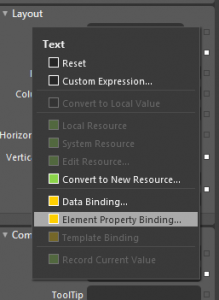 Expression Blend 4 : Element Property Binding Two Way
- Select the slider control again and select its value property again as we did in the case of the rectangle. Also we will select the TwoWay Binding so that both the controls i.e. TextBox and Slider can change each other’s value.
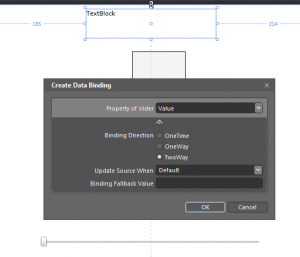 Expression Blend 4 : Element Property Binding Two Way
- Now we can run the application and change the value of the slider or textbox and we will see that the width of the rectangle is changing and the other control’s value is also updated.Data Binding with Data Sources
In this section we will see how we can use data binding with data sources. Data sources can either be xml or any other CLR object. As we know that xml works only with WPF so for this demo we will have to use data binding with sample data. When we work on an actual project we have CLR objects in which data is stored and they definitely follow some schema. So we can build up sample data in Blend to represent that sample data. So let’s get started.
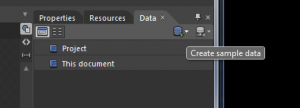
- Create a new project in Blend. Navigate to the data tab in the right panel. If the data tab is not visible then goto the window menu of blend and select data.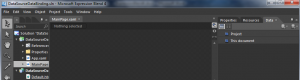 Expression Blend 4 : Data
- Click on the Create Data Source.
 Expression Blend 4 : Create Data Source
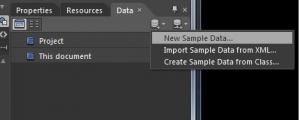
- And select New Sample Data. You will also see option to create Sample data using XML or Class. If we have those then we can use them. When we select any of those two options then blend will not exactly use those but take them as a basis for generating sample data.
 Expression Blend 4 : Add new Sample Data
- Give the Sample Data Source some name and select the define in as project. We do want to enable sample data when application is running so keep It checked.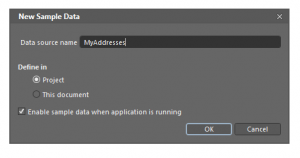 Expression Blend 4 : Add new Sample Data
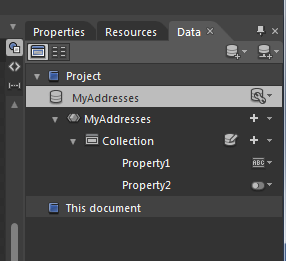
- When we click ok we will see that the data source appears in the data tab at project level and we have a collection with properties in it.
 Expression Blend 4 : Sample Data
- We can also see that in the Projects that a new folder is added named SampleData. When we expand it we see that there is a xaml in it which will store all the data and an xsd which is the schema.
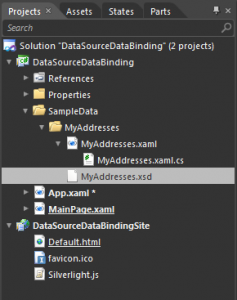 Expression Blend 4 : Sample Data Folder
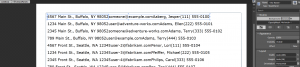
- If we open the MyAddresses.xaml, we will see that we have some items already added in the data source. We modify their values or add new items.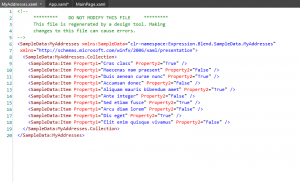 Expression Blend 4 : Sample Data xaml
- Let’s go back to the data tab and click on Edit Sample Values as shown in the image below.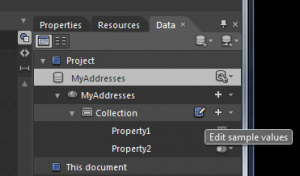 Expression Blend 4 : Edit Sample Data
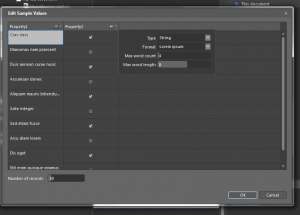
- We will see something like below. We can edit the values or the types of these properties.
 Expression Blend 4 : Edit Sample Data
- Let’s rename the properties as shown below. Also lets change the specification of the Address property as shown below.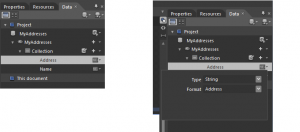 Expression Blend 4 : Edit Sample Data Property Type and Format
- Also similarly change the Format of name to Name. When we do that if you go back to Edit Values we will see that the data is has been populated according to the format selected.
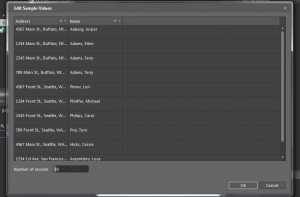 Expression Blend 4 : Edit Sample Values
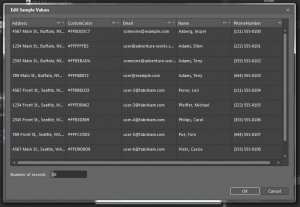
- Let’s add email, phone number and CustomColor properties.Also modify the format accordingly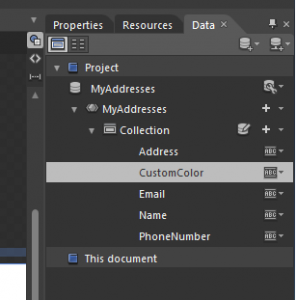 Expression Blend 4 : Edit Sample Values Format
- And we will see data something like below.
 Expression Blend 4 : Add Properties in Sample Values
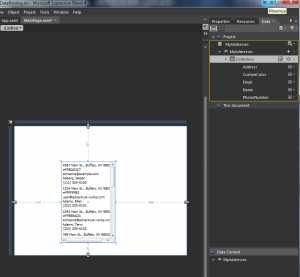
- Now let’s start using this data that we have created. Drag and drop the Collection onto the artboard.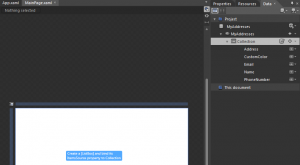 Expression Blend 4 : Create Databound ListBox
- And a listbox will be automatically created. And each entry will show all the fields. Also the yellow rectangle around the datasource shows data binding.
 Expression Blend 4 : Create Databound ListBox
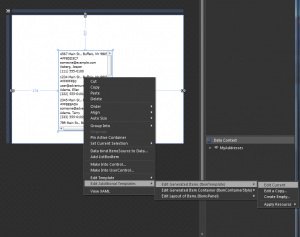
- Let’s improve the look of the List Box by the use of Data Template. Right Click the ListBox and Go to Edit Additional Template à Edit Generated Items (ItemTemplate) à Edit Current
 Expression Blend 4 : Edit Generated Items
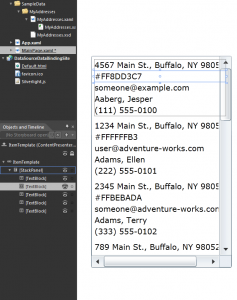
- We would something like this. Let’s delete the Color textblock as we do not want to display the color in this way. When we delete that textblock you would see that that textblock is deleted from each item and that’s the way templates work.
 Expression Blend 4 : ListBox DataTemplate
- Now let’s select the listbox from the breadcrumb bar and stretch it.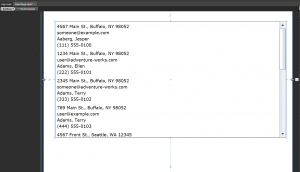 Expression Blend 4 : ListBox DataTemplate
- Now let’s go back to the template and change the orientation of the stackpanel to horizontal from vertical. And then build the solution. We will see something like below.
 Expression Blend 4 : StackPanel Orientation
- Lets give specific width to all the textblocks and we will see a clean layout.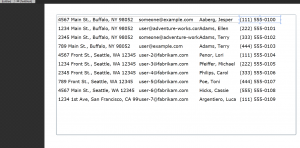 Expression Blend 4 : StackPanel Orientation
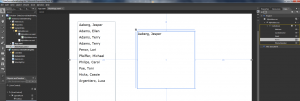
- Let’s delete all the textblocks except the Name TextBlock. Then let’s go back and select the listbox and reduce its width.
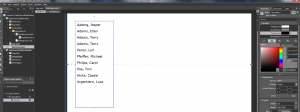 Expression Blend 4 : DataContext
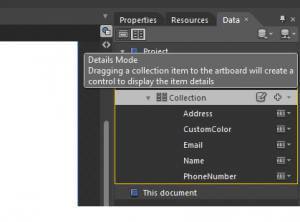
- Now go to the data tab and select the view mode to details view.
 Expression Blend 4 : DataContext
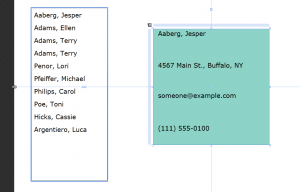
- Now let’s drag the Name field on to the art board. We will see that a grid is created along with textblock as its child. Now whenever we select the item in the listbox we will see that the content of the textblock in the grid is changing. This happens because the grid that got created has a concept called Data Context. The grid has its data context set to the list box. So as soon as an item is selected in listbox then the the value changes in the grid as the items in the grid have already specified what item of the listbox they want to display. We can other fields as well in the grid and see that their value change as the selection of the listbox changed.
 Expression Blend 4 : DataContext
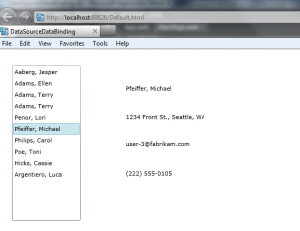
- When we run the application we will see something like below.
 Expression Blend 4 : Run App with Sample Data
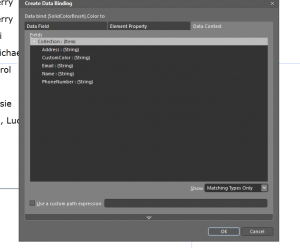
- Lets go to the grid à Background à Property marker à Data Binding. We will a window like below.
 Expression Blend 4 : Data Binding Background
- Select Customcolor string and the background of the grid is bound to the color string of the selected item. The value conversion is going on in the background.
 Expression Blend 4 : Data Binding Background
- When we run the application we see something like below.
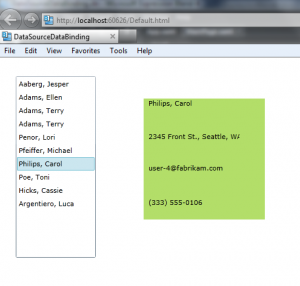 Expression Blend 4 : Data Binding Background
The code for this post can be found here.
Any questions, comments or feedback are welcome.